Showing posts with label DIY. Show all posts

Saturday, August 16, 2014

Bookshelf Simple Facelift

I have a love/hate relationship with yard sales.  I love finding great deals.  I hate driving from sale to sale in search of said deals.  I love seeing what other people consider "junk" that I see as a great future project.  I hate buying what other people consider "junk" and discovering only after I get it home that it is, in fact, junk.
 
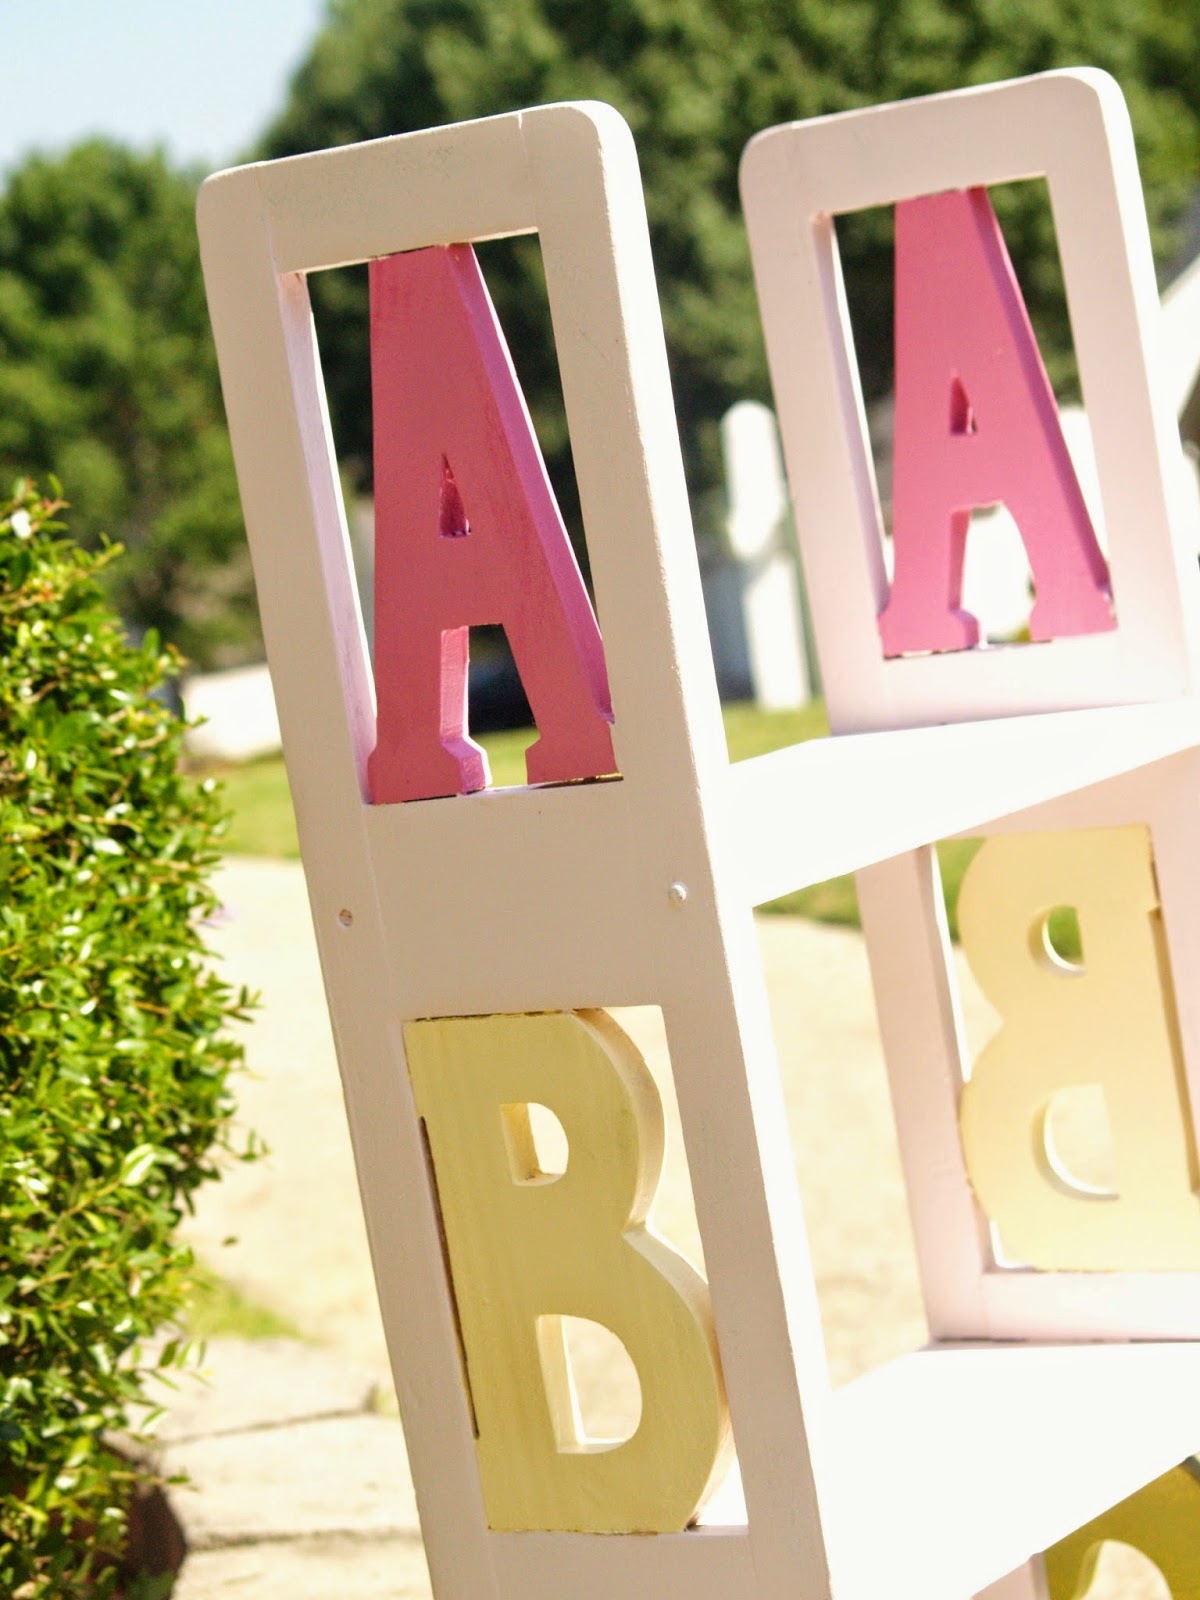
Several weeks ago at a sale, I stumbled across this sad-looking little bookshelf that I decided had tons of hidden personality and good bone structure.  After paying full asking price for it - a whopping $2 - it sat in my garage for a couple more weeks.  I wish I had the thought to take a true before picture.  I knew I wanted it to go in my daughter's whimsical bedroom.  Unfortunately, before I could get down to the business of its makeover, I haphazardly threw on a solid coat of white spray paint and borrowed it for a work conference mom and I attended.

So, with no further ado, here is the new before that I had created:

Whaddya think?  Are you team-Bobby who said "Well, there goes a wasted two dollars"? Or are you team-Emily who said "Hellloooo, Gorgeous!"

Off came the layers (there were about three at this point) of paint, revealing first what I saw when I purchased and then a naked shelf waiting to be refurbished...
 
 
Caroline's room has an eclectic mix of textures, patterns, and colors which incorporate pink, yellow, green, and white.  So below are the colors I used:
 
 
I really wanted the letters on the sides to "pop" but I didn't want to do the shelf white again.  Not after the power-sanding battle I endured.  Here is a progression picture of my work...bonus points if you noticed the photo-bomb from Sparky!
Side note: yikes!  Time to pressure wash the driveway!

I am so happy with the way it turned out; it fits in perfectly to her room décor.  Caroline and I love it!


Sunday, July 27, 2014

DIY Wedding Gift - Framed Burlap Initial

A sweet young woman who is nearest and dearest to my heart is getting married.  Colloquially she is known as my "Sister from another Mister."  I have known her since she was about 5 years old; our mothers taught 1st grade together for over a decade.

Now that the occasion to shower her with love and support her upcoming nuptials is upon us, I wanted to do something DIY.  Sure, she's carefully selected some wonderful items for her gift registry.  But I just love an opportunity to put a personal touch gifting.  So, with no further ado, here is how I went about creating this gorgeous framed burlap initial (with much inspiration from Pinterest...you know the site with which we wanna-be crafters all have a love/hate relationship!)

 First I gathered all of my supplies from Hobby Lobby.  I started with an open-back frame, a ready-made frame from which I only needed the backing, a 1/4 yard of burlap (which was a stretch.  I should have bought just a tad more for error), a die-cut letter, a piece of beautiful scrapbooking paper, and some mod podge (which I already had on hand). 
I glued the burlap to the frame backing and trimmed around the edges to remove the excess so that it would sit down into the frame nicely.  I tried to keep my lines straight (yes, I'm Type-A) but I also admitted to myself that any imperfections would add to the charm of the overall look.

Next I decoupaged the scrapbook paper to the letter.  The design I chose has linear text on it, so again I spent way too much time carefully attempted to keep the top of the letter "M" inline with the text.  To each her own, I say!  Here you want to make sure you use a very thin layer of mod podge and lay down the paper slowly.  Use a straight edge to smooth out any air bubbles and wrinkles.  You have a very small window of time during which you may pull up the paper and re apply it.  Make sure you allow the paper and glue adequate time to fully dry before moving on.
Because I didn't take the time to paint the letter, but I also didn't fold down the paper to the edges of the letter, I took a marker and colored the sides black.  I decided not to use a sharpie for fear that it would bleed onto the paper.  However, you may like that look. 
Check out the foot-photo-bomb by my daughter in the picture above.  Never a dull moment around here!  It's worth noting that I was working in my kitchen.  Which means she was standing on my kitchen counters watching me work!

Using an exacto knife, I cut around the outside of the letter to remove the unused paper.  Below, is my finished letter. 

After securing the burlap backing into the frame, I used generous amounts of hot glue to apply the letter inside the frame.  Viola!  Instant artwork.

On the back of this piece, you will see that - to me - nothing in life is ever perfect.  I used good ol' duct tape to keep the picture backing in place.  It's strong, durable, and will never show when the artwork is hung or carefully displayed.  Also, I attached the invitation from their engagement party so they would remember this wedding season, as well as the night they received this token of my love. 
Some variations would be to use smaller letters of the couple's first names creating a true monogram.  You could wait until after the wedding and use their wedding invitation and/or wedding program.  You could even do this with photographs of the couple.  But I am just giddy with the way my version turned out.


Wednesday, August 17, 2011

Mirror, Mirror; Where'd Ya Go?

Hey kids!  Guess what time it is?  No, not Howdy-Doody Time...it's DIY time!

Last night I "inherited" this gem from my sweet sister-in-law to be, Laura:
It was originally a pretty, silver-framed mirror.  The mirror broke and Laura decided there was no use for the flimsy frame anymore.  Silly, silly Laura.  She has a lot to learn about repurposing and upcycling!

I knew immediately what I was going to do, and it all began with a can of oil-rubbed bronze spray paint.  Let's face it, ORB may just make the world go 'round...

Walmart sells a 4-pack of cork squares and they are easy to cut with a pair of scissors.  Shame on me for not taking extensive shots of the whole process, but it was such a breeze that I was done before I'd really gotten started! 
Ta-da!!!  I made a new corkboard for all of Bubba's artwork.  It hangs proudly in our playroom!  I'm super excited, but I really would love to see him go back to school, for reasons none the least of which include my wanting some new art to display.
BEFORE:
AFTER:

Friday, May 6, 2011

My Mother's Day DON'T...

Where are you, Muse of Creativity?  Why do you avoid me so?  Case-in-point: My attempt at Mother's Day Creativity.

Why do I stress over the perfect Mother's Day present?  It couldn't be because God has blessed me with the most amazing mother and mothers-in-law a girl could ever want...it certainly is not because my children have the most aMAYzing grandmothers ever imagined.  So I definitely do not stress over Mother's Day in attempt to give my mothers what they deserve--the best.  Nah.Nope.Not one of those reasons.

I've given some pretty decent gifts in the past.  Yet I take credit for no originality.  I am the take-and-run kind of crafter.  That's why I read all my blogs.daily.first thing. There...I have confessed. I'm obsessed. This year's inspiration came from this little bit o'goodness to the right -- my latest issue of the Lowe's Creative Ideas magazine I receive quarterly.

I decided I would make DIY windchimes for all my moms.  I needed about 1 million pint sized terra cotta pots which I found for next to nothing at a yard sale.  DIY and thrifty?  SCORE!  I was hooked.  Oh, if only...

The first step was the 2-color process.  I already had both colors I wanted to use.  Again...SCORE!  First problem?  When I applied the painter's tape to the pot-rims, I didn't smoothe it down using rocket science methodology, so paint color #2 ran onto the white.  I should have known then I was in over my head.
 
Yep, what was supposed to be a quick-dry spray paint process quickly turned into a sanding and hand-painting touch up.  Again, perhaps I should have just punted, yet in my mind the end result was going to be fantastic and homemade.

Now, about the details.  There are supposed to be 3 pots per windchime, strung together by clothesline.  So each pot must be wonderfully and artistically personalized. Check. I have nice handwriting.  I'll just paint everyone's grandmotherly moniker along the rim. And I'll use the kids' thumbprints as the base of some outdoorsy-insect-motif. Wait...did I just consider kids and paint? Apparently I didn't consider it and my artistic abilities enough. How do you paint a ladybug, anyway? (Confession time: I actually had to ask/double check. Are they red with black spots or black with red spots? Answer: the latter.)

Well, below are some images of what I have done so far.  Rob's thumbprints became my pitiful ladybugs.  Caroline's smeared thumbprints made the "perfect" body for my dragonflies.  The project is not finished yet.  Because I have 48 hours left and I hope I can redeem this, I am posting it now. I'll update with the finished look in time. Comments? Suggestions? Feel free.
In the good news section of this post, if y'all have some good suggestions, I have extra terra cotta pots.  Remember, I bought a million of them for pennies.  Also, please don't tell my Mothers about this just yet.

'til then folks! Bye.